Pastels are very popular and extremely versatile, unique art material due to their rich, vibrant colors. That’s why many novice artists wonder if pastels are an easy-to-master medium.
Let me shed some light on the subject and help you take the first steps in working with pastels. With time and practice, you will develop your unique style.
One important thing to keep in mind is that drawing is a learnable skill, not an innate talent. With learning and a lot of practice, anyone can learn to draw.
In short: yes, pastels are easy for beginners because both pastel sticks and pencils are easy to handle. We hold them directly with our hands, so we don't need a tool to draw with pastels.

The great advantage of using pastels is that they do not require special preparations such as oil painting.
Since it is a dry material, you do not have to wait for the paint to dry, so you can work dynamically. Color mixing is done directly on the drawing surface, not on a palette as with other techniques.

Pastels are perfect for drawing and sketching outdoors, because they are easy to transport. They are available in many colors and can be combined well with other media such as watercolor.
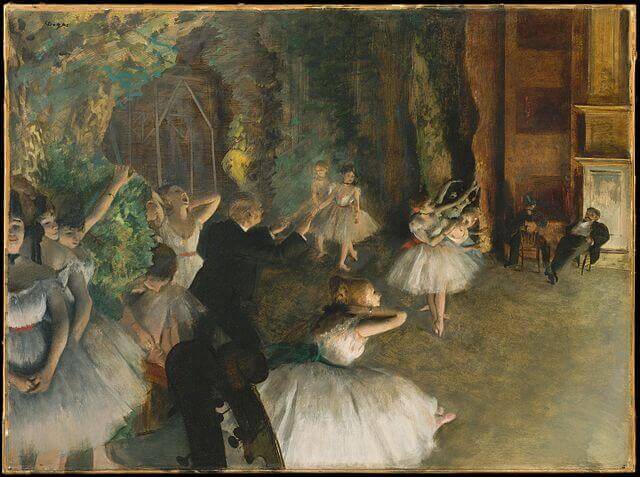
Pastel is a medium that some artists classify as drawing and others as painting. It was used for sketching and drawing during the Renaissance and Baroque times but was used as a painting technique in Impressionism.
Pastels are versatile mediums, suitable for presenting a wide variety of subjects, light effects, moods, and impressions. Pastels make it easy to achieve beautiful color gradations.
Knowledge of drawing basics is very important
However, a few basic things are helpful for any novice artist to learn when starting to work with pastels or any other medium.
- As with any other technique, knowledge of drawing fundamentals, which includes linear and aerial perspective, tonal rendering, and depicting light and shadow, is essential for working with pastels.
- Working with pastels requires knowledge of the basics of color theory and color mixing.
- Knowledge of the principles of artistic composition helps to place the visual elements in a way pleasing to the eye.
- To draw portraits and human figures, we need another very important thing, which is the knowledge of artistic anatomy.
What are pastels made of?
Pastels are made from pigment powder and a minimal amount of binder. The pastel name comes from the paste-like material from which the sticks are made.
Depending on the type of binder, there are dry and oil pastels. In the case of dry pastels, the binder is mostly gum tragacanth, and in the case of oil pastels, mineral oils, and waxes.
What is the difference between dry and oil pastels?
Dry and oil pastels come in several degrees of hardness. Oil pastels don’t dust like dry ones, so with oil pastels, it’s easier to keep your workspace clean and less likely to inhale or possibly swallow airborne substances.
Oil pastels do not come off the drawing surface as easily as dry pastels and their colors are more vivid. An artwork made with oil pastels will eventually look similar to an oil painting.
What do you need for pastel art?
Pastel sticks
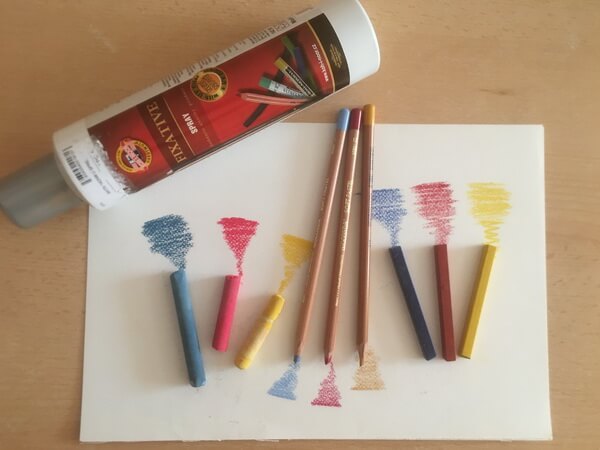
Pastel sticks come in a great variety of colors. They can be used to create soft color transitions, fine gradations, or sharp lines. Pastel sticks can be round or square, as well as hard, medium, or soft.
The hard, square-shaped sticks you can draw precisely.
You can make broad strokes with the flat side of pastel sticks and cover larger areas.
Pastel pencils
Pastel pencils are among the harder pastels and can be sharpened. This is especially useful when making a preliminary sketch, but pastel pencils are also suitable for drawing precise details.
Drawing surfaces for pastel drawings
The texture of pastel papers has a tooth, to which the pigment particles can adhere. You can choose from pastel papers and boards with different tooth structures. The smoothness or grainy texture will also affect the texture of the finished artwork.
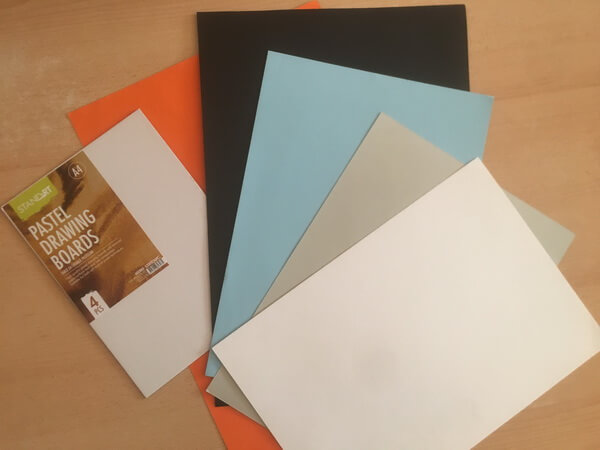
Pastel papers are available in a variety of colors, contributing to the overall effect of the finished work.
Fine-grained, water-proof sandpaper can also be used for pastel drawings. Thanks to its fine grains, both dry and oil pastels can be applied in a thin layer. We can also work with oil pastels on canvas primed for oil painting.
Blending tools
You can use your fingers, a cloth, a sponge, a brush, or a paper stump for blending pastels.
Spray fixative
It is recommended to fix the dry pastels on the drawing surface, otherwise, they may smear. However, we need to take into account that fixatives darken the colors of pastels. There are also UV filter fixatives that protect pastel artwork from fading.
The easiest way to layer pastels is to fix each layer with a thin layer of workable fixative. By layering pastels, we can achieve a complex and rich color effect.
Drawing board
You need the drawing board to attach the drawing sheet to it. Some boards have clips, but you can use bulldog clips or masking tape to attach your drawing sheet to the board.
The drawing board can be any chipboard, wood, or masonite board with a smooth surface. A painting easel can also come in handy to make our job easier and more comfortable.
Additional tools for pastel art
A scalpel and a piece of fine sandpaper can come in handy so we can sharpen our pastel pencils or sticks. Fine sandpaper is also suitable for gently cleaning pastel sticks from other colors deposited on them.
How to get started with pastels?
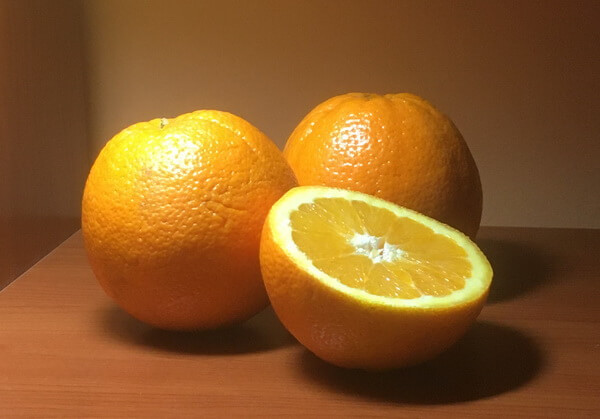
I recommend starting with pastels (or any other medium) by drawing and shading the basic geometric solids. A still life composition of two or three simple objects or fruits is perfect to get you started. It is best to set the light source to illuminate the composition from a single point.
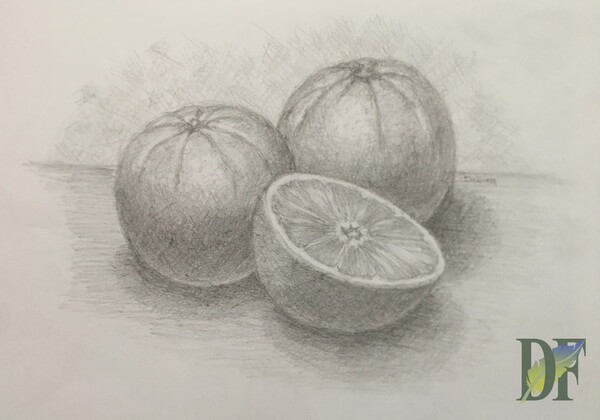
I made a quick sketch and value study with graphite for this still life composition with oranges. Defining tonal values is important because it allows you to determine the mood of your drawing. The role of tonal values is also to assist in the three-dimensional representation of objects.
On a pastel board, I sketched the outlines of the elements of the composition with pastel pencils. For the still life of oranges, I chose three cool colors (blue, blue-violet, violet), three warm colors (yellow-orange, orange, red-orange), and white for the highlights.
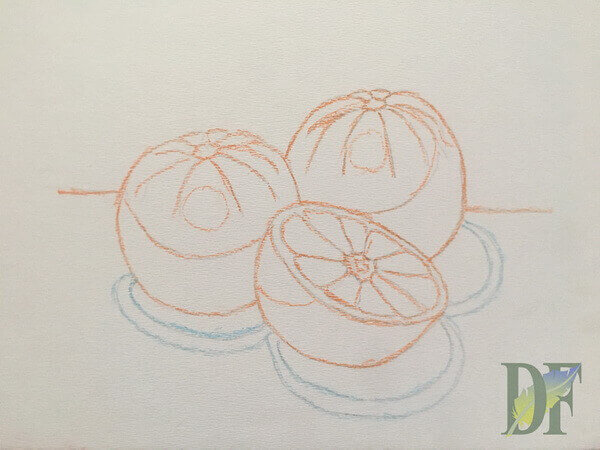
Always move from larger shapes to smaller details and develop each part of the drawing at the same time. You can draw a great variety of lines, dots, and hatching patterns with pastels.
I chose to show the contrast between dark and light, cold and warm, and complementary colors in my drawing. The cooler and darker background colors look farther away, and the lighter and warmer oranges look closer in space.
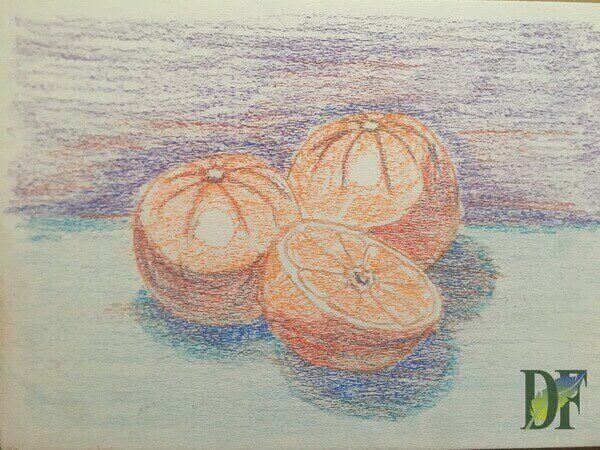
Apply the first layers of paint with harder pastel sticks or pastel pencils and gently spray them with a workable fixative. Be careful not to apply the pastel in thick layers, as if the tooth of the paper fills too quickly, you will not be able to apply additional layers.
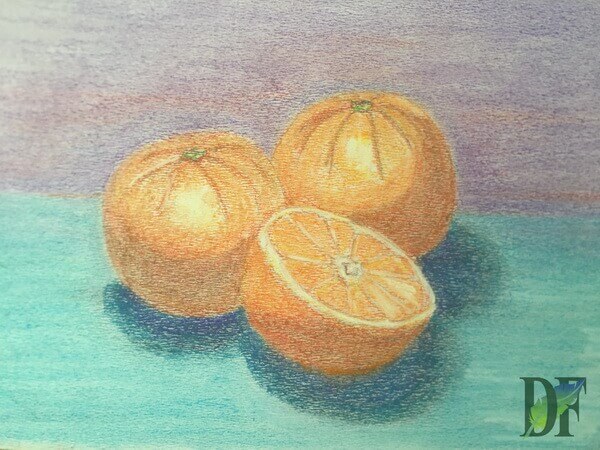
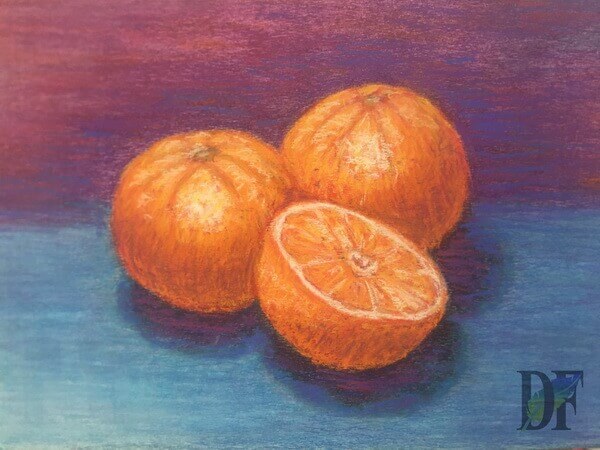
You can achieve a rich, beautiful color effect with different pastels applied in multiple layers. For the finishing layers, soft pastels are the right choice. A drawing can be easily overworked, so you need to determine the moment you consider the drawing complete and stop working.
How to preserve pastel art?
Properly stored and exhibited, pastel works of art will preserve their wonderful colors for centuries. Pastel works from previous centuries show that their colors have retained their original beauty, while the surface of oil paintings can become darker and cracked.
The best way to securely store your pastel drawings is to use a portfolio stored in a dry place. The surface of pastel drawings is fragile and easily smeared, so it is recommended to seal them with a fixative. Framed pastel drawings can be protected from fading with UV filter glass or a fixing spray containing a UV filter.
The use of pastel paints in art history
During the Renaissance, Leonardo da Vinci and Michelangelo Buonarroti used chalk for their drawings. These chalks are considered the predecessors of today’s pastels.
The 16th-century chalks were red, white, and black, containing pigment powder and a binder.
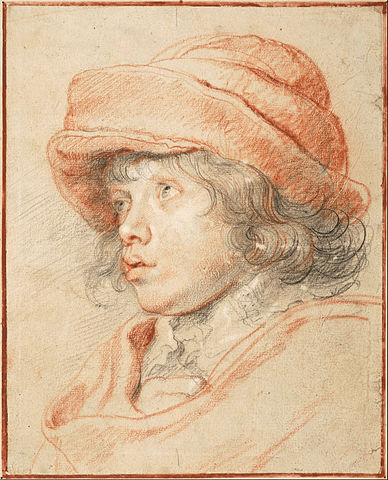
German Renaissance artist Hans Holbein also loved to use chalk in his works, as did Dutch painter Peter Paul Rubens in the 1600s.
Until Impressionism, chalk was only used by artists to make sketches. In the 1860s, Edgar Degas was the first to apply pastels as a basic medium for painting. Pastel became a popular tool of the Impressionists and was also used by Renoir, Toulouse-Lautrec, Degas, Monet, Matisse, and Gaugin.
Edgar Degas created monotypes with oil paint, which he then finished with pastels to enhance the intensity of the colors. This technique of Degas can be observed in his monotypes depicting ballet dancers and landscapes of Burgundy.
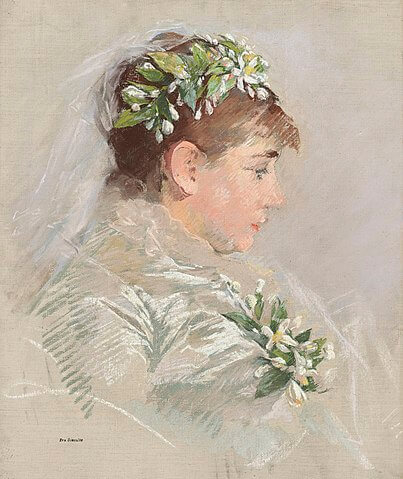
Mary Cassatt, Eva Gonzalès, and Berthe Morisot were female Impressionist painters, who also created masterpieces with pastels.
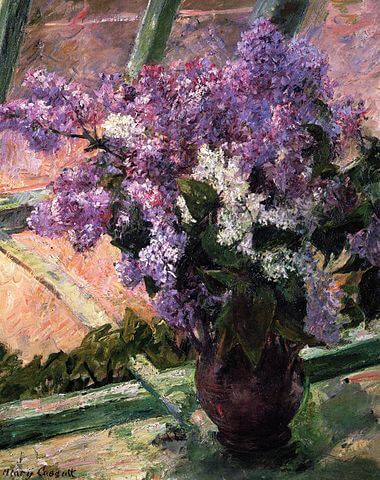
At the request of Pablo Picasso, Sennelier developed an oil pastel technique in which the properties of oil paint were combined with those of pastels. Sennelier pastels are still as high quality as when Picasso used them.
When observing the works of the masters of the fine arts, pay attention to how their works were composed, and what materials and techniques were used. In this way, we can learn from the best professionals.
In his notes, Leonardo da Vinci recommends copying the works of the great masters to art students. The works of art of the old masters are now in the public domain, so they can be copied freely.
Final thoughts
Pastel paints come in beautiful, vibrant colors and they are fun to use. 18th-century works of art prove that, when properly stored, pastel drawings retain their beauty better than oil paintings.
Pastel art does not require special preparation and tools like some other techniques. They are easy to transport, so pastels are an excellent choice for outdoor work. Because of all these good qualities, pastels are a great medium for beginners.
Debora
My name is Debora, and I’m the founder of Drawing Fundamentals. I work as a civil engineering technician. I acquired the basic knowledge necessary for freehand and technical drawing during my school training, further developing and perfecting these skills throughout my years in the profession. Through my blog, I aim to assist anyone interested in learning to draw.

